Week 4: Sketches!
By Erika Goering,
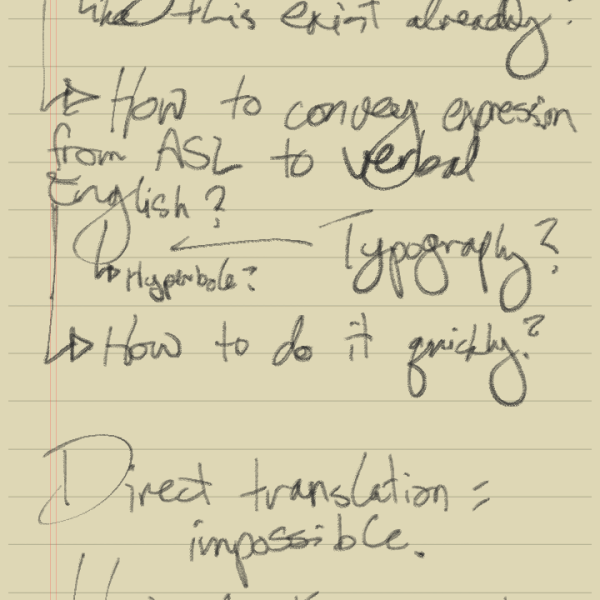
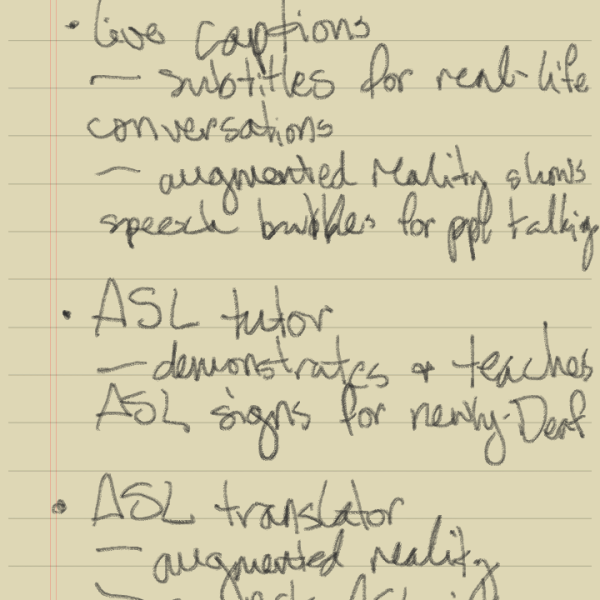
I’ve started to put some serious thought into how to actually design the deaf transcriber app:
-
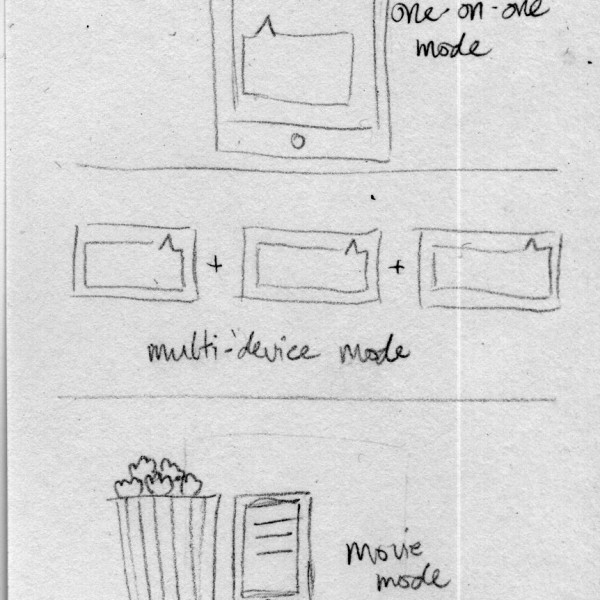
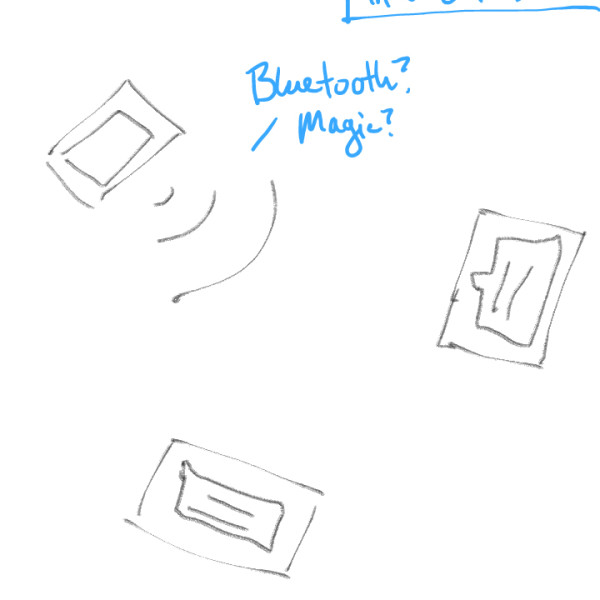
- The mode chooser is the first screen the user sees (aside from a branded splash screen). This gives the user control to select whichever type of tool is the most appropriate for the situation.
-
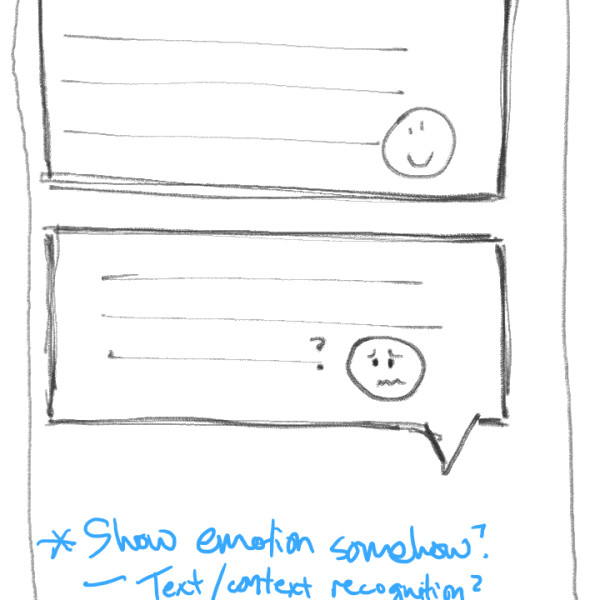
- One-on-one mode: This is what the beginning of a conversation will look like; a prompt to the hearing person and a blank slate for the Deaf/HoH person (until someone starts speaking or signing.)
-
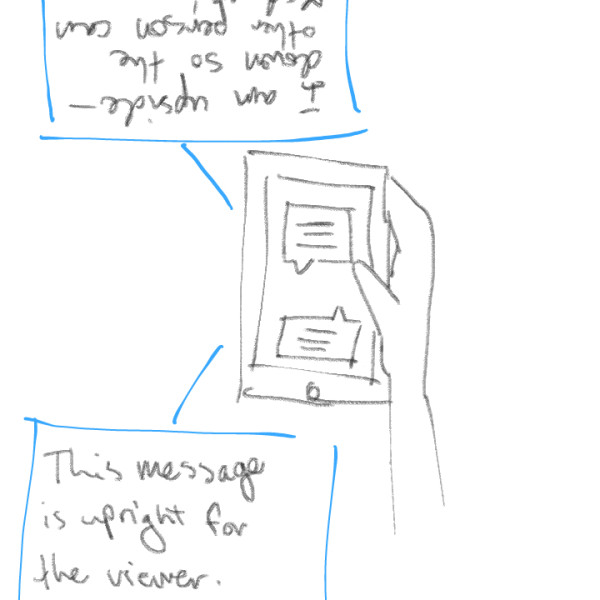
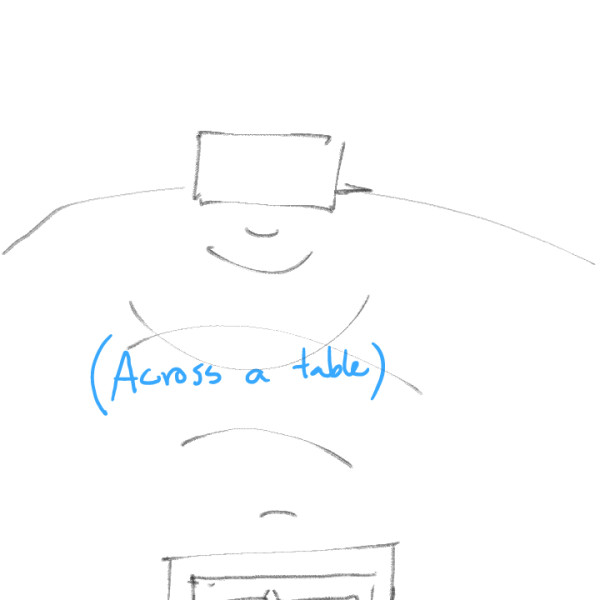
- One-on-one: Once a conversation gets started, there are dialog boxes that display the text that has been transcribed. Emoticons (or whatever visual language I decide on [color, typography, etc.] ) will also be shown in context. Each speech bubble is directional; the user on each side of the device sees the transcription correctly.
-

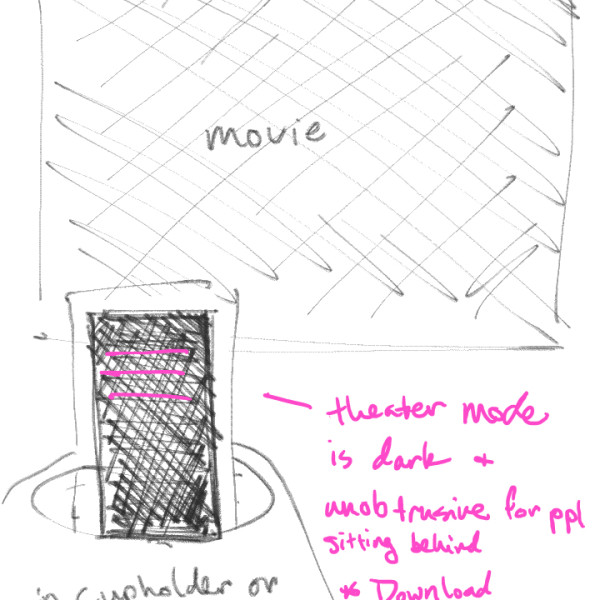
- Movie mode: The user searches for the movie’s caption/subtitle file from a database. The subtitles are displayed on the next screen.
-

- Movie mode: This is what the caption screen will look like: Captions in the top 3rd of the screen (to allow for placement in a cupholder) and a “start/sync” button to sync the subtitle file with the actual movie.
-
- Multi-device: Scrollable messages take up the entire screen, to allow for legibility at a glance.
-
- Multi-device and one-on-one: Emoticons or other subtext items are stored in a drawer in each user’s sidebar. These can be selected and applied to messages as they are being recorded, and sent to the recipient upon confirmation.
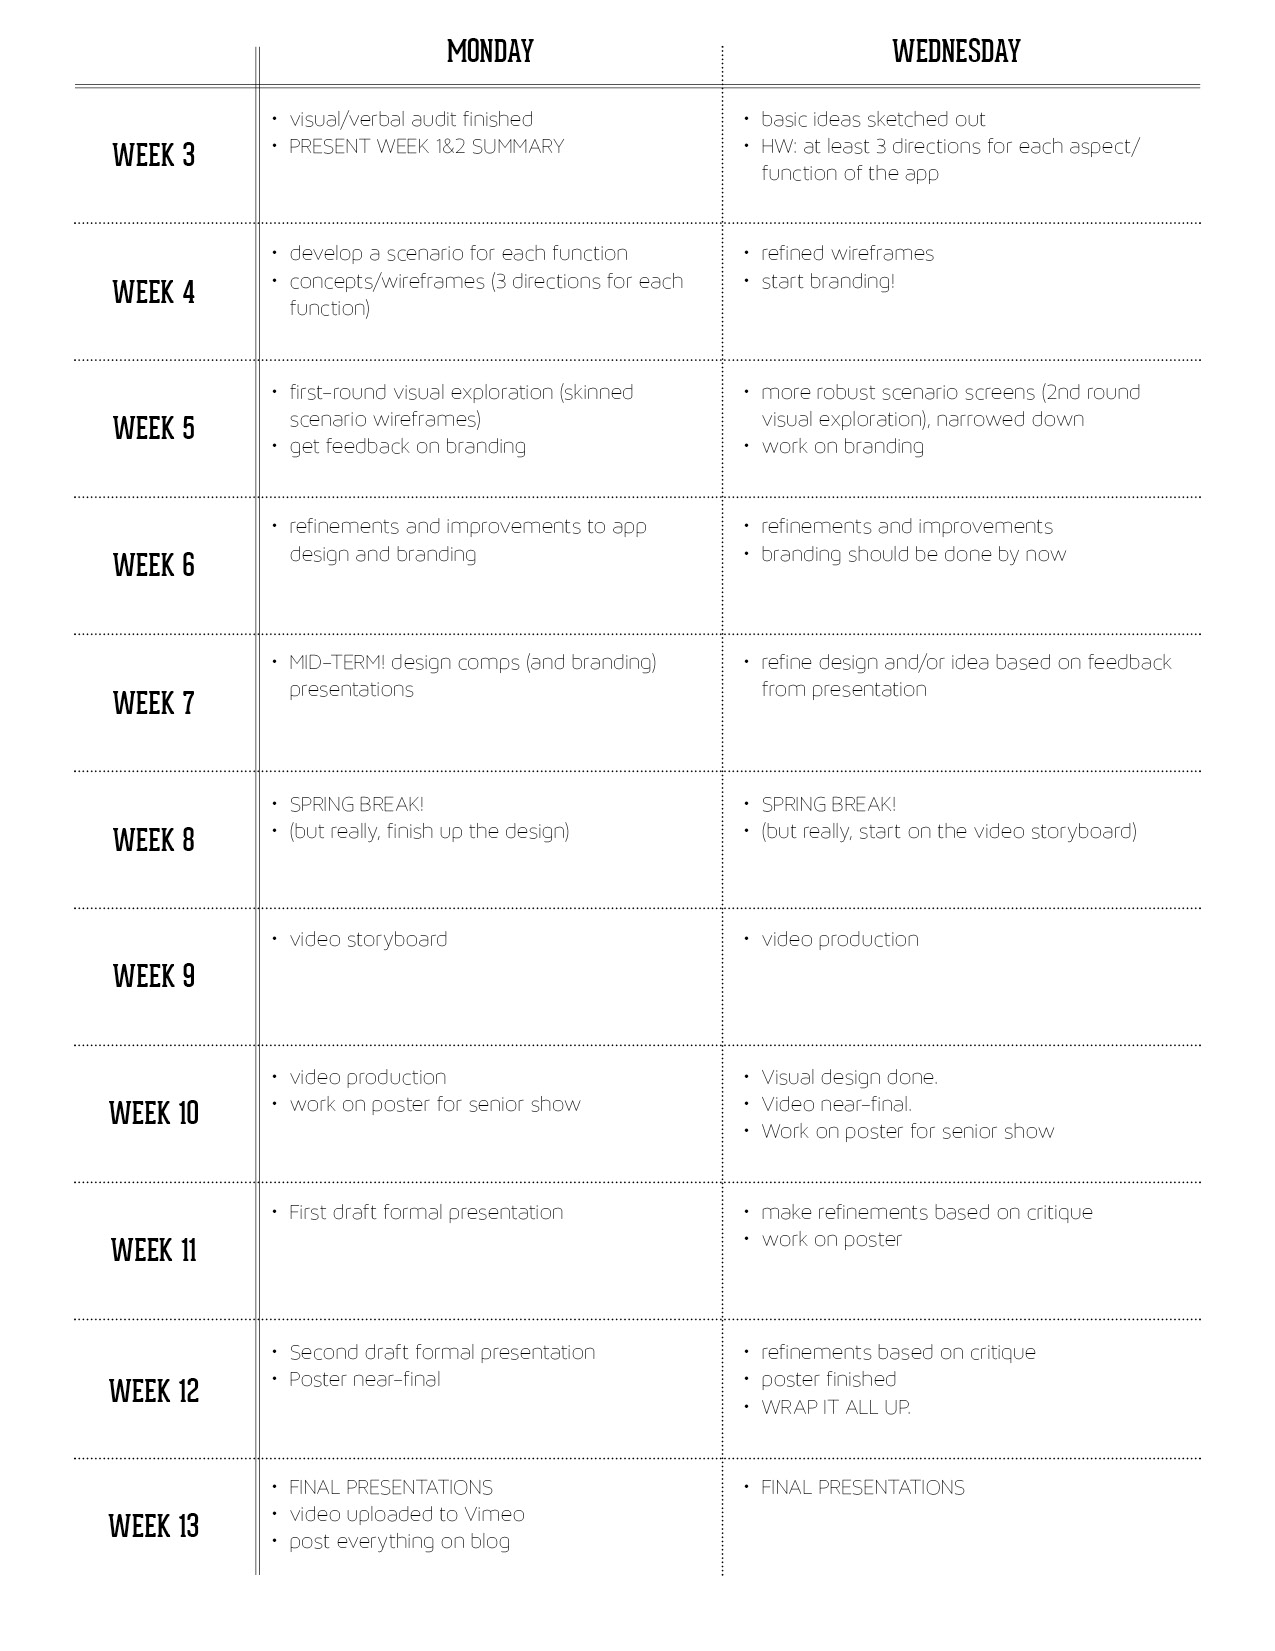
Next steps:
- Flesh out each mode’s scenario. (And think a bit deeper with the multi-device mode’s scenario.)
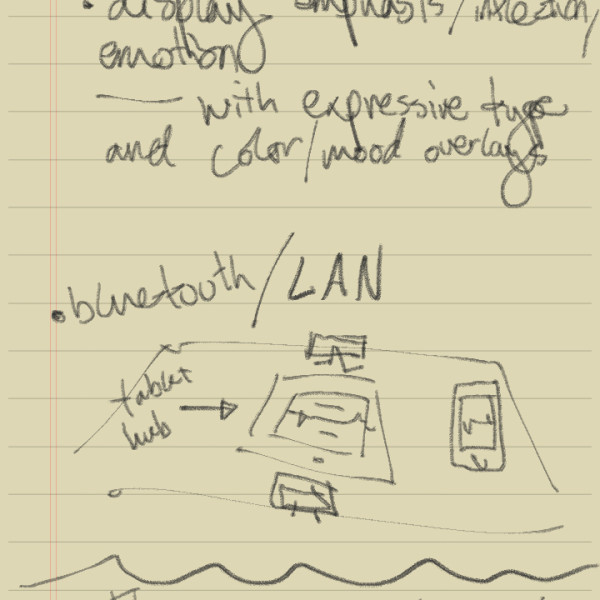
- Start exploring branding/naming and visual design options. (Also decide how subtext will be conveyed; through emoticon, color, and/or typography.)
Filed under: Degree Project, KCAI, Learning
Comments: Comments Off on Week 4: Sketches!